Installing Welded Wire Fence A Comprehensive Guide
Welded wire fencing is a versatile and durable option for various applications, including gardening, livestock containment, and property delineation. If you're considering installing a welded wire fence, this guide will provide you with step-by-step instructions to ensure a successful project.
Step 1 Planning and Preparation
Before you start the installation process, it’s essential to plan your fence layout. Determine where you want to install the fence and measure the required length. Use stakes and string to mark the corners and lines of the fence. This will help you visualize the structure and ensure it follows the intended path. Also, check local regulations regarding fence installations to ensure compliance with zoning laws and building codes.
Step 2 Gathering Materials and Tools
To install a welded wire fence, you’ll need specific materials and tools
. Here’s a list of what you’ll need
Materials
- Welded wire fencing rolls (choose the height and gauge based on your needs)
- Fence posts (wooden, metal, or vinyl, depending on preference)
- Post caps (to protect your posts from moisture)
- Concrete (if you opt for concrete footings)
- Wire ties or clips (for securing the wire to the posts)
Tools
- Post hole digger or auger
- Level
- Wire cutters
- Hammer or post driver
- Tape measure
- Gloves (for protection)
- Safety glasses (to protect your eyes)
Step 3 Installing Fence Posts
Once you have the materials ready, start by installing the fence posts. The first step is to dig holes for the posts. Typically, the holes should be one-third of the post length deep. For most welded wire fences, posts should be spaced 6 to 10 feet apart, depending on the height of the fence and the terrain.
installing welded wire fence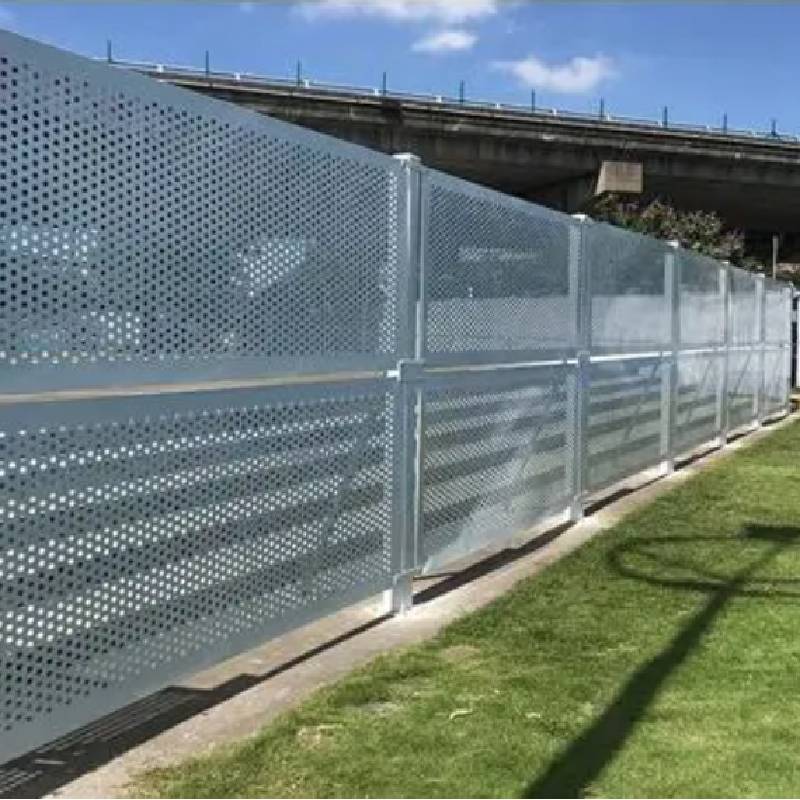
After digging the holes, place the posts in them. Ensure they are vertical by using a level. If necessary, brace the posts temporarily while you pour concrete into the holes to secure them in place. Allow the concrete to set for 24 to 48 hours before attaching the welded wire.
Step 4 Attaching the Welded Wire Fencing
With the posts securely in place, it’s time to attach the welded wire fencing. Start at one end of the fence line and unroll the wire along the posts. Use wire ties or clips to secure the fencing to the posts. Ensure the fencing is taut to prevent sagging, which can weaken the overall structure over time.
When working with long runs of fencing, it’s essential to overlap the ends properly. Use wire cutters to trim any excess wire as necessary. Make sure to wear gloves during this step to avoid injuries from the sharp edges of the wire.
Step 5 Finishing Touches
After the wire is securely attached, take a moment to inspect your work. Ensure all sections are tight and that there are no gaps at the bottom where animals could dig under. Trim any excess wire and install post caps to protect the tops of your fence posts from moisture, which can lead to rot and decay over time.
If desired, you can also add additional features, such as gates or decorative elements, to enhance the appearance of your fencing.
Conclusion
Installing a welded wire fence is a manageable project that can greatly enhance your property’s functionality and appearance. By following these steps, you can ensure a sturdy and long-lasting fence that serves its purpose effectively. Whether you're protecting your garden, containing livestock, or simply marking your property boundaries, a welded wire fence is a practical and durable solution. Remember to take your time during the installation process, as a solid foundation and careful construction will lead to years of reliable service.


